
When I first started trading stocks over 10 years ago, technical indicators seemed like mysterious tools used by Wall Street wizards. However, after years of experience, I’ve learned that these indicators are simply mathematical calculations that help traders make informed decisions. Today, I want to share my knowledge with you and break down the most essential technical analysis indicators in simple terms.
Table of Contents
Understanding the Foundation: What Are Technical Analysis Indicators?
Technical analysis indicators are mathematical formulas applied to price and volume data. Moreover, they help traders identify trends, momentum, and potential reversal points in financial markets. These tools transform raw market data into visual representations that reveal patterns and opportunities.
I use these indicators daily because they provide objective insights into market behavior. Furthermore, they help remove emotional decision-making from trading, which often leads to costly mistakes. Think of technical indicators as your trading compass, guiding you through the complex world of financial markets.
The beauty of technical indicators lies in their versatility and accessibility. Additionally, most trading platforms provide these tools for free, making them available to retail traders like you and me. Nevertheless, understanding how to interpret and combine these indicators requires practice and patience.
Moving Averages: Your First Step Into Technical Analysis
Moving averages represent one of the most fundamental and widely-used technical indicators. Essentially, they smooth out price fluctuations by creating a constantly updated average price over a specific time period. I recommend starting with moving averages because they’re intuitive and highly effective.
The Simple Moving Average (SMA) calculates the arithmetic mean of closing prices over a chosen period. For instance, a 20-day SMA adds up the last 20 closing prices and divides by 20. This creates a smooth line that follows the general price trend without the noise of daily fluctuations.
Conversely, the Exponential Moving Average (EMA) gives more weight to recent prices. Therefore, it responds faster to price changes than the SMA, making it ideal for short-term trading strategies. I personally prefer EMAs for day trading because they provide earlier signals.
The most common periods I use are 9, 20, 50, and 200 days for different timeframes. When shorter moving averages cross above longer ones, this typically signals an uptrend. Similarly, when shorter averages cross below longer ones, it often indicates a downtrend beginning.
RSI: Measuring Market Momentum and Overbought/Oversold Conditions
The Relative Strength Index (RSI) measures the speed and magnitude of price changes. Specifically, this oscillator ranges from 0 to 100 and helps identify overbought and oversold conditions. I find RSI invaluable for timing entry and exit points in my trades.
When RSI rises above 70, the asset is generally considered overbought. Consequently, this suggests the price might be due for a correction or pullback. Conversely, when RSI falls below 30, the asset is typically oversold, indicating a potential buying opportunity.
However, I’ve learned not to rely solely on RSI readings for trading decisions. Instead, I combine RSI with other indicators to confirm signals and reduce false positives. During strong trends, RSI can remain in overbought or oversold territory for extended periods.
The standard RSI period is 14, but I sometimes adjust this based on my trading timeframe. For day trading, I might use a shorter period like 7 or 9. Meanwhile, for swing trading, I prefer the standard 14-period setting or even extend it to 21.
MACD: The Moving Average Convergence Divergence Explained
MACD combines trend-following and momentum characteristics into a single, powerful indicator. Basically, it consists of two moving averages and a histogram that measures the difference between them. This indicator has become one of my go-to tools for identifying trend changes.
The MACD line represents the difference between a 12-period and 26-period exponential moving average. Additionally, the signal line is a 9-period EMA of the MACD line itself. When the MACD line crosses above the signal line, it generates a bullish signal.
The histogram shows the difference between the MACD line and the signal line. Furthermore, it helps visualize the momentum behind price movements and often provides early warnings of trend changes. I pay close attention to histogram divergences, which can predict reversals.
One of my favorite MACD strategies involves waiting for the MACD line to cross above the zero line. This crossover often confirms that bullish momentum is gaining strength. Similarly, when MACD crosses below zero, it typically confirms bearish momentum.
Bollinger Bands: Understanding Price Volatility and Market Boundaries
Bollinger Bands consist of three lines: a middle band (typically a 20-period SMA) and two outer bands. The outer bands are positioned two standard deviations away from the middle band. These bands expand and contract based on market volatility, providing valuable insights.
When prices touch or break through the upper Bollinger Band, it often indicates overbought conditions. Conversely, when prices reach the lower band, it typically suggests oversold conditions. However, I’ve learned that strong trends can keep prices near the bands for extended periods.
The width of the bands tells me about market volatility levels. Narrow bands indicate low volatility and often precede significant price movements. Meanwhile, wide bands suggest high volatility and potential trend continuation or reversal points.
I use Bollinger Band squeezes as one of my favorite setups. When bands contract significantly, it often signals that a breakout is imminent. Therefore, I prepare for potential trades in either direction when I spot these squeeze patterns.
Support and Resistance Levels: The Foundation of Price Action Analysis
Support and resistance levels represent psychological price points where buying and selling pressure intensifies. Support acts as a floor where prices tend to bounce higher. Resistance functions as a ceiling where prices often struggle to break through.
I identify these levels by looking for areas where prices have previously reversed multiple times. The more times a level has been tested, the stronger it becomes. Additionally, round numbers and previous highs/lows often act as significant support and resistance zones.
Volume plays a crucial role in validating support and resistance levels. When prices approach these levels with high volume, the probability of a reaction increases significantly. Conversely, low volume often leads to false breakouts or breakdowns.
Breaking through established support or resistance levels often leads to significant price movements. Therefore, I watch these breakouts carefully and use them as entry points for momentum trades. However, I always wait for confirmation to avoid false breakouts.
Volume Analysis: The Fuel Behind Price Movements
Volume represents the number of shares or contracts traded during a specific period. It provides crucial context for price movements and helps validate the strength of trends. I consider volume analysis essential because price movements without volume support often lack sustainability.
Increasing volume during uptrends confirms buying interest and suggests the trend will continue. Similarly, rising volume during downtrends indicates selling pressure and validates bearish momentum. However, declining volume often signals weakening trends and potential reversals.
Volume spikes often occur at significant support and resistance levels. Moreover, these spikes can indicate institutional interest and potential breakout points. I pay special attention to volume patterns during earnings announcements and other significant events.
Average volume helps me identify unusual trading activity that might signal important developments. When current volume exceeds the average by a significant margin, it often indicates news or events affecting the stock. Therefore, I investigate further when I notice volume anomalies.
Stochastic Oscillator: Another Momentum Indicator for Your Toolkit
The Stochastic Oscillator compares closing prices to the high-low range over a specific period. This momentum indicator ranges from 0 to 100 and helps identify overbought and oversold conditions. I find it particularly useful for timing entries in range-bound markets.
The indicator consists of two lines: %K (the main line) and %D (the signal line). When %K crosses above %D, it generates a bullish signal. Conversely, when %K crosses below %D, it produces a bearish signal.
Like RSI, Stochastic readings above 80 suggest overbought conditions, while readings below 20 indicate oversold conditions. However, I’ve learned that strong trends can keep the oscillator in extreme territory for extended periods. Therefore, I combine Stochastic with trend-following indicators for better results.
Divergences between the Stochastic Oscillator and price action often signal potential reversals. When prices make new highs but Stochastic fails to follow, it suggests weakening momentum. Similarly, when prices make new lows but Stochastic doesn’t confirm, it often indicates buying pressure building.
Fibonacci Retracements: Mathematical Precision in Market Analysis
Fibonacci retracements use mathematical ratios derived from the Fibonacci sequence to identify potential reversal levels.
These levels (23.6%, 38.2%, 50%, 61.8%, and 78.6%) often act as support or resistance during pullbacks.
I use Fibonacci retracements to find optimal entry points in trending markets.
To apply Fibonacci retracements, I identify a significant price move and draw the tool from the swing low to swing high.
The retracement levels then appear automatically, showing potential areas where the trend might resume.
These levels work because many traders watch them, creating self-fulfilling prophecies.
Best Video to Learn about Fibonacci Technical Indicator
The 61.8% retracement level, known as the “golden ratio,” often provides the strongest support or resistance.
Additionally, the 38.2% level frequently acts as the first significant retracement point in strong trends.
I pay particular attention to these key levels when planning my trades.
Fibonacci extensions help me identify potential profit targets beyond the original price move.
By extending the retracement tool, I can see where the trend might continue after a pullback. This helps me set realistic profit expectations and manage my trades effectively.
Combining Indicators: Creating a Comprehensive Trading Strategy
No single indicator provides all the answers, so I combine multiple indicators to create robust trading strategies. This approach helps filter false signals and increases the probability of successful trades. However, using too many indicators can lead to analysis paralysis and conflicting signals.
I typically combine a trend-following indicator (like moving averages) with a momentum oscillator (like RSI or MACD). Additionally, I always consider support/resistance levels and volume analysis in my decision-making process. This multi-faceted approach provides a complete picture of market conditions.
Confluence zones, where multiple indicators align, offer the highest-probability trading setups. For example, when price reaches a Fibonacci retracement level that coincides with a support level and RSI shows oversold conditions, it creates a strong buying opportunity. Therefore, I actively search for these confluence points.
Timing becomes crucial when combining indicators, as different tools may provide signals at different times. I’ve learned to be patient and wait for multiple confirmations before entering trades. This patience has significantly improved my trading results over the years.
Common Mistakes First-Time Traders Make With Indicators
One of the biggest mistakes I see new traders make is relying too heavily on indicators alone. Remember, indicators are tools that help analyze price action, not crystal balls that predict the future. Market context, news events, and overall trend direction matter just as much as indicator readings.
Another common error involves using too many indicators simultaneously, creating information overload. When starting out, I recommend mastering 2-3 indicators before adding more to your toolkit. This focused approach helps you understand how each indicator behaves in different market conditions.
Many beginners also fail to adjust indicator settings for different market conditions and timeframes. Default settings work well in most situations, but sometimes customization improves performance. Experiment with different parameters on historical data before applying changes to live trading.
Ignoring the overall trend while focusing solely on indicator signals often leads to losses. Always remember that “the trend is your friend,” and fighting against strong trends rarely ends well. Use indicators to find optimal entry points within the prevailing trend direction.
Video Resource Recommendation
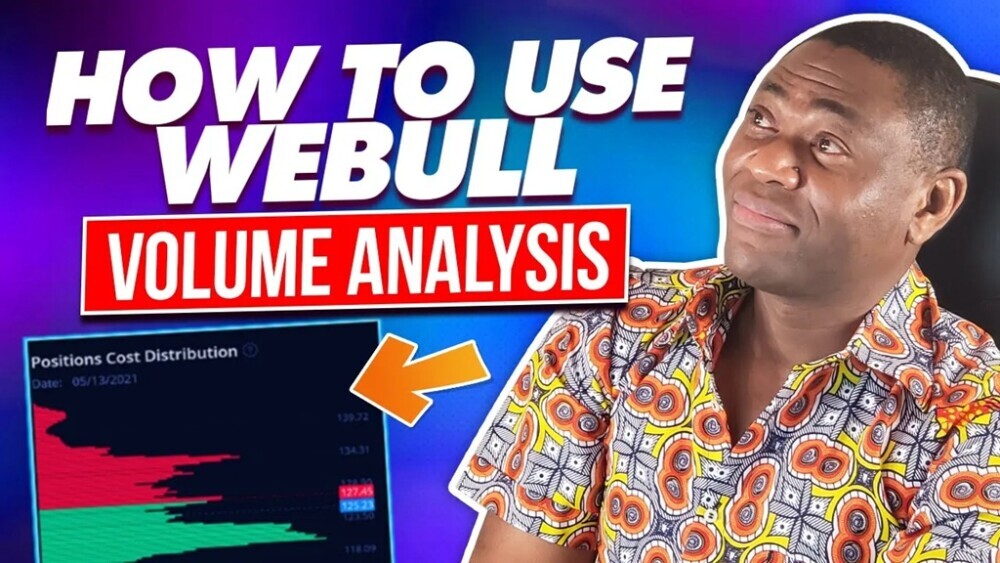
I highly recommend checking out the SuccessfulTradings YouTube channel at https://www.youtube.com/@SuccessfulTradings for comprehensive video tutorials on technical analysis indicators. Their educational content covers practical applications of the indicators discussed in this article, making complex concepts easier to understand through visual examples and real-time market analysis.
Practical Application: Putting It All Together
Start by focusing on one major market or a few stocks you know well.
This allows you to understand how indicators behave in familiar territory before expanding your scope.
I began by tracking just three stocks and learned their typical patterns and behaviors.
Practice on paper or with a demo account before risking real money.
This approach lets you test different indicator combinations and develop confidence without financial pressure. Most brokers offer demo accounts that mirror real market conditions perfectly.
Keep a trading journal documenting your indicator-based decisions and their outcomes.
Such practice helps identify which combinations work best for your trading style and market conditions.
Over time, simple candlestick patterns emerge that guide future decision-making processes.
Start with longer timeframes like daily or weekly charts before moving to shorter periods.
Longer timeframes produce cleaner signals and reduce market noise that can confuse beginners.
As your skills develop, you can gradually incorporate shorter timeframe analysis.
Frequently Asked Questions
Q: How many technical indicators should I use when starting out?
A: I recommend beginning with 2-3 complementary indicators maximum. Start with a moving average for trend direction, RSI for momentum, and basic support/resistance levels. This combination provides comprehensive market insight without overwhelming complexity. As you gain experience, you can gradually add more tools to your arsenal.
Q: Which timeframe works best for technical analysis indicators?
A: The best timeframe depends on your trading style and goals. For day trading, I use 5-minute to 1-hour charts. Swing traders typically focus on daily charts, while position traders prefer weekly or monthly timeframes. Start with daily charts as they provide cleaner signals with less market noise.
Q: Can technical indicators predict future price movements with certainty?
A: No indicator guarantees future price movements with 100% accuracy. Technical indicators analyze historical data and identify probabilities, not certainties. They help increase your odds of success when combined with proper risk management, but losses are always possible in trading.
Q: Should I adjust default indicator settings?
A: Default settings work well for most situations and are widely used by traders worldwide. However, different markets and timeframes may benefit from customized settings. I recommend sticking with defaults initially, then experimenting with adjustments once you understand how each indicator behaves.
Q: How long does it take to master technical analysis indicators?
A: Becoming proficient with basic indicators typically takes 3-6 months of consistent study and practice. However, mastery requires years of experience across different market conditions. Focus on understanding a few indicators deeply rather than learning many superficially.
Q: Do professional traders still use these basic indicators?
A: Absolutely. Many professional traders and institutional investors use these fundamental indicators as building blocks for more complex strategies. The principles behind moving averages, RSI, and support/resistance levels remain relevant regardless of market sophistication or technological advances.
Q: What’s the most important thing to remember when using technical indicators?
A: Always remember that indicators are tools to assist decision-making, not replacements for critical thinking and market awareness. Combine indicator analysis with fundamental factors, market sentiment, and proper risk management for optimal results. Never risk more than you can afford to lose, regardless of what indicators suggest.
CONCLUSION
Technical analysis indicators offer powerful insights into market behavior, but success requires patience, practice, and proper application. Start with the basics, master them thoroughly, and gradually expand your toolkit as your experience grows. Remember that consistent profitability comes from disciplined application of proven strategies rather than searching for the “perfect” indicator combination.

Hold a Master Degree in Electrical engineering from Texas A&M University.
African born – French Raised and US matured who speak 5 languages.
Active Stock Options Trader and Coach since 2014.
Most Swing Trade weekly Options and Specialize in 10-Baggers !
YouTube Channel: https://www.youtube.com/c/SuccessfulTradings
Other Website: https://237answersblog.com/